> ## Documentation Index
> Fetch the complete documentation index at: https://docs.affinda.com/llms.txt
> Use this file to discover all available pages before exploring further.
# User Management and Permissions
> Manage users, roles, and permissions in the Affinda app to control who can upload documents, validate extractions, configure models, and export data.
Within the Affinda platform, teams can collaborate to configure their workflow and document types and to process documents on an ongoing basis.
## User Permissions
### Organization Permissions
At an Organizational level, Affinda has three levels of permissions.
Can manage other Users, Workspaces, Document Types, and Billing
Can manage other Users (except for Owners), Workspaces, and Document Types
Their only role is to validate documents within Workspaces for which they have been granted permission. Members cannot change any settings (unless they have been added as Workspace Admins - see below)
### Workspace Permissions
Can update all Workspace settings. By default, all Organization Owners and Admins are implicitly Workspace Admins. Organization Members can be added as Workspace Admins to allow for the management of teams processing documents.
Cannot update any settings.
Workspace Members' permissions can be controlled at the organizational level in the **Organization Settings**.
Owners and Admins can configure if Workspace Members can:
* Upload documents
* Edit file names
* Reparse documents
* Apply OCR
* Manage Tags
## Adding New Users
To invite new Users to your Organization, navigate to the '**Members**' settings from your Organization homepage. The invited User will receive an email inviting them to accept the invitation, at which point they will be prompted to either log in to their existing account or register a new account.
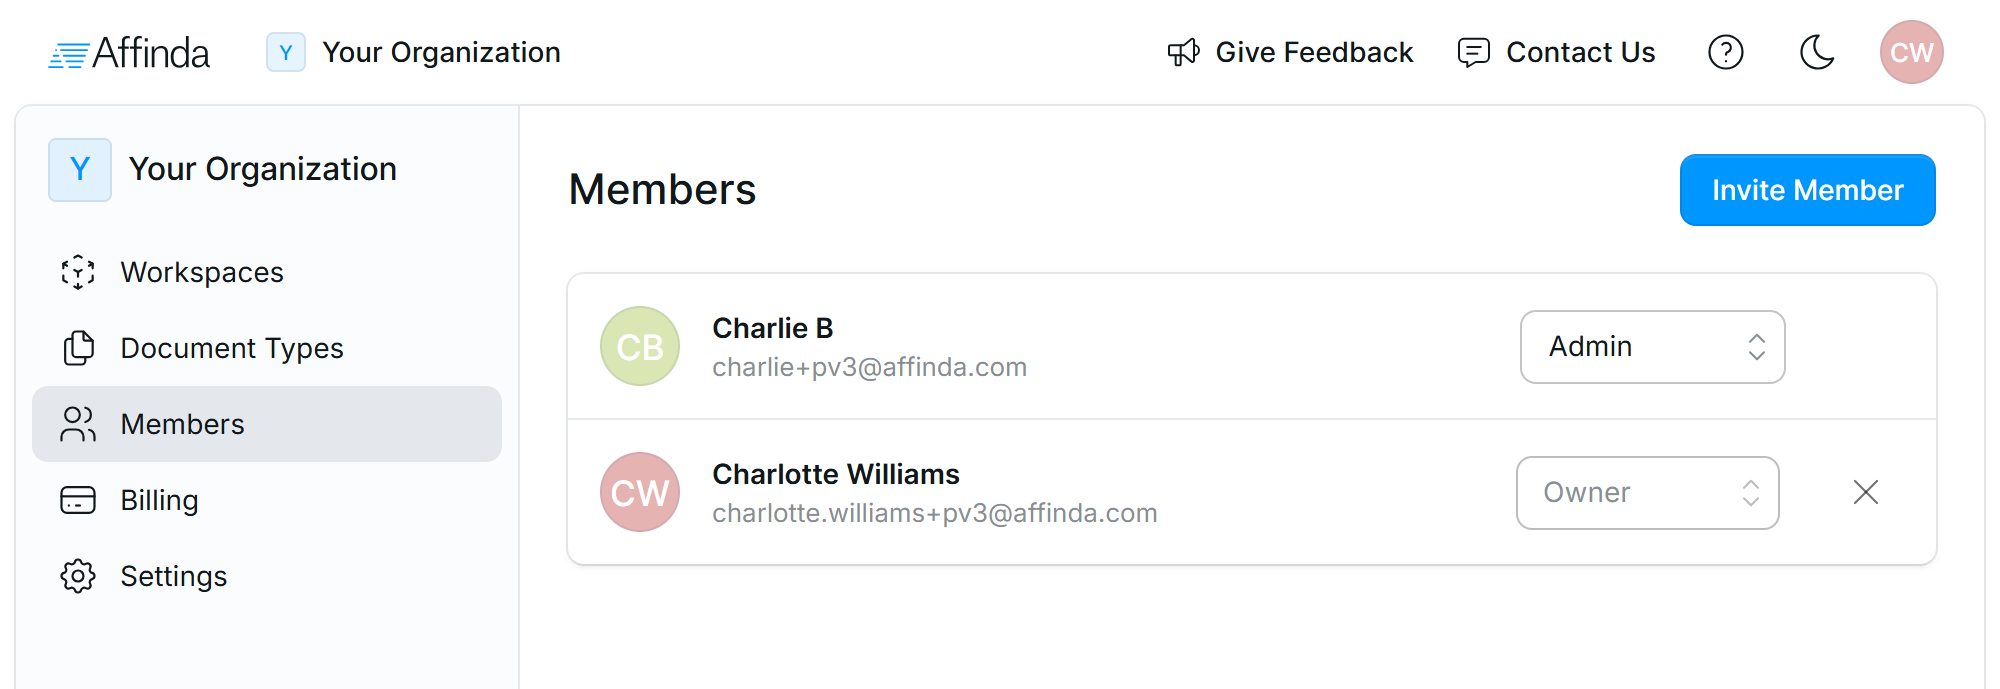
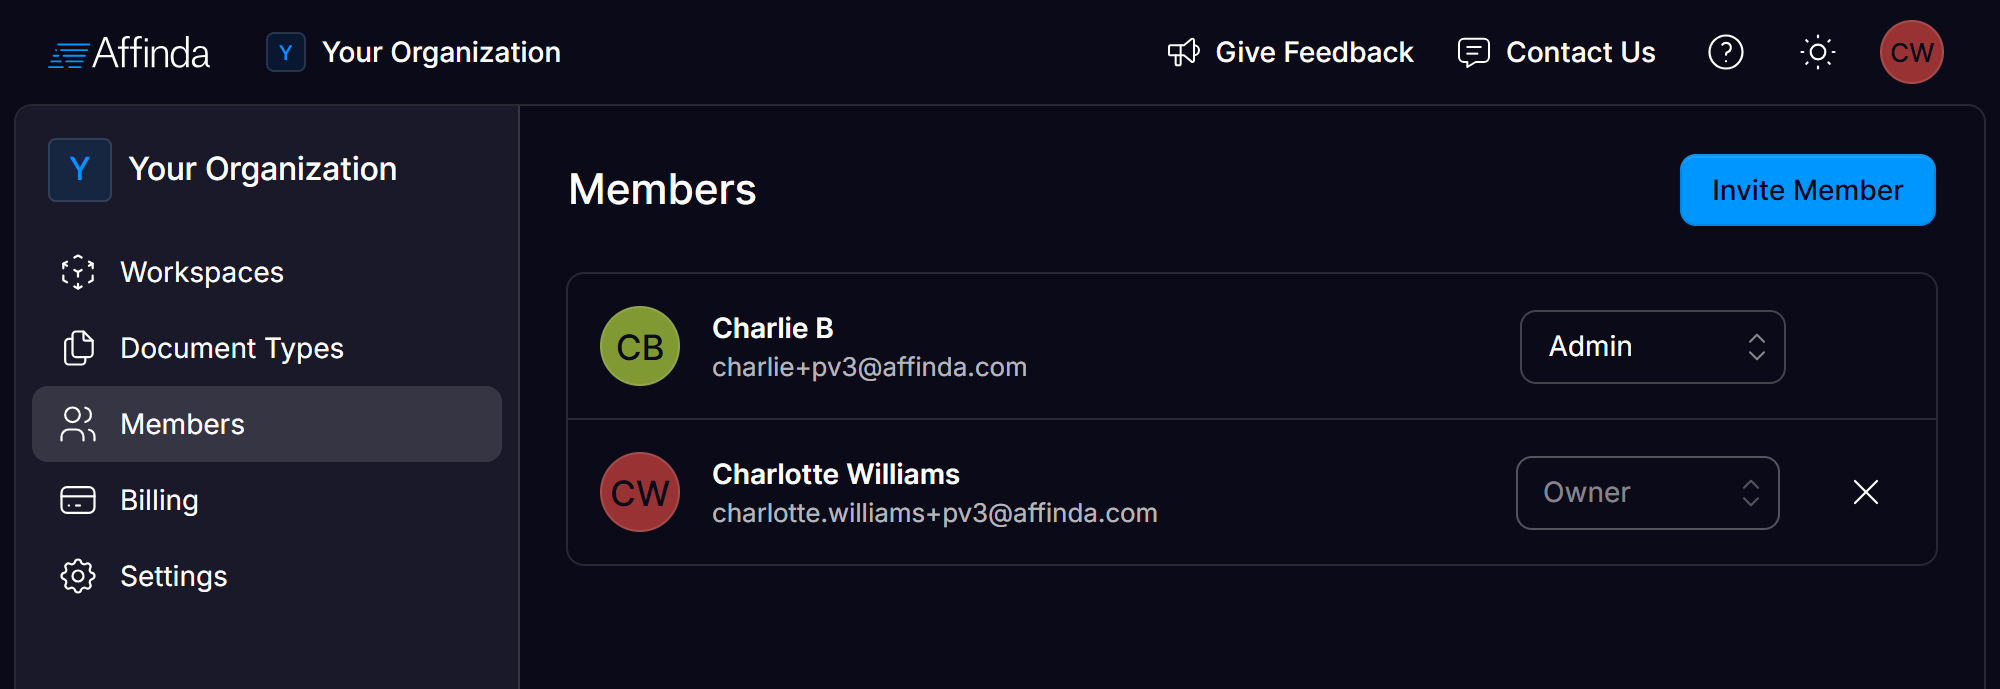 Users can also be removed by clicking the 'X' button next to their role.
There must always be at least one Owner for an organization.
## Workspace Permissions
By default, all organization members have access to every workspace in the organization; however, a Workspace can be set to 'Private' so that only certain team members will be able to view the Workspace. All Organization Owners and Admins will have access to all Workspaces, and only Members must be explicitly added to private Workspaces.
To update Workspace permissions, navigate to 'Permissions' within the relevant Workspace. You will also be able to create Workspace Admins.
Users can also be removed by clicking the 'X' button next to their role.
There must always be at least one Owner for an organization.
## Workspace Permissions
By default, all organization members have access to every workspace in the organization; however, a Workspace can be set to 'Private' so that only certain team members will be able to view the Workspace. All Organization Owners and Admins will have access to all Workspaces, and only Members must be explicitly added to private Workspaces.
To update Workspace permissions, navigate to 'Permissions' within the relevant Workspace. You will also be able to create Workspace Admins.