> ## Documentation Index
> Fetch the complete documentation index at: https://docs.affinda.com/llms.txt
> Use this file to discover all available pages before exploring further.
# Configure your document workflow
> Configure each step in the Affinda document workflow, including ingestion, splitting, classification, extraction, validation, and export rules.
Within Affinda's platform, we offer a configurable workflow designed to flexibly meet customers' document processing requirements. While most workflows share common steps, each step can be adjusted to align with your organization's unique processes.
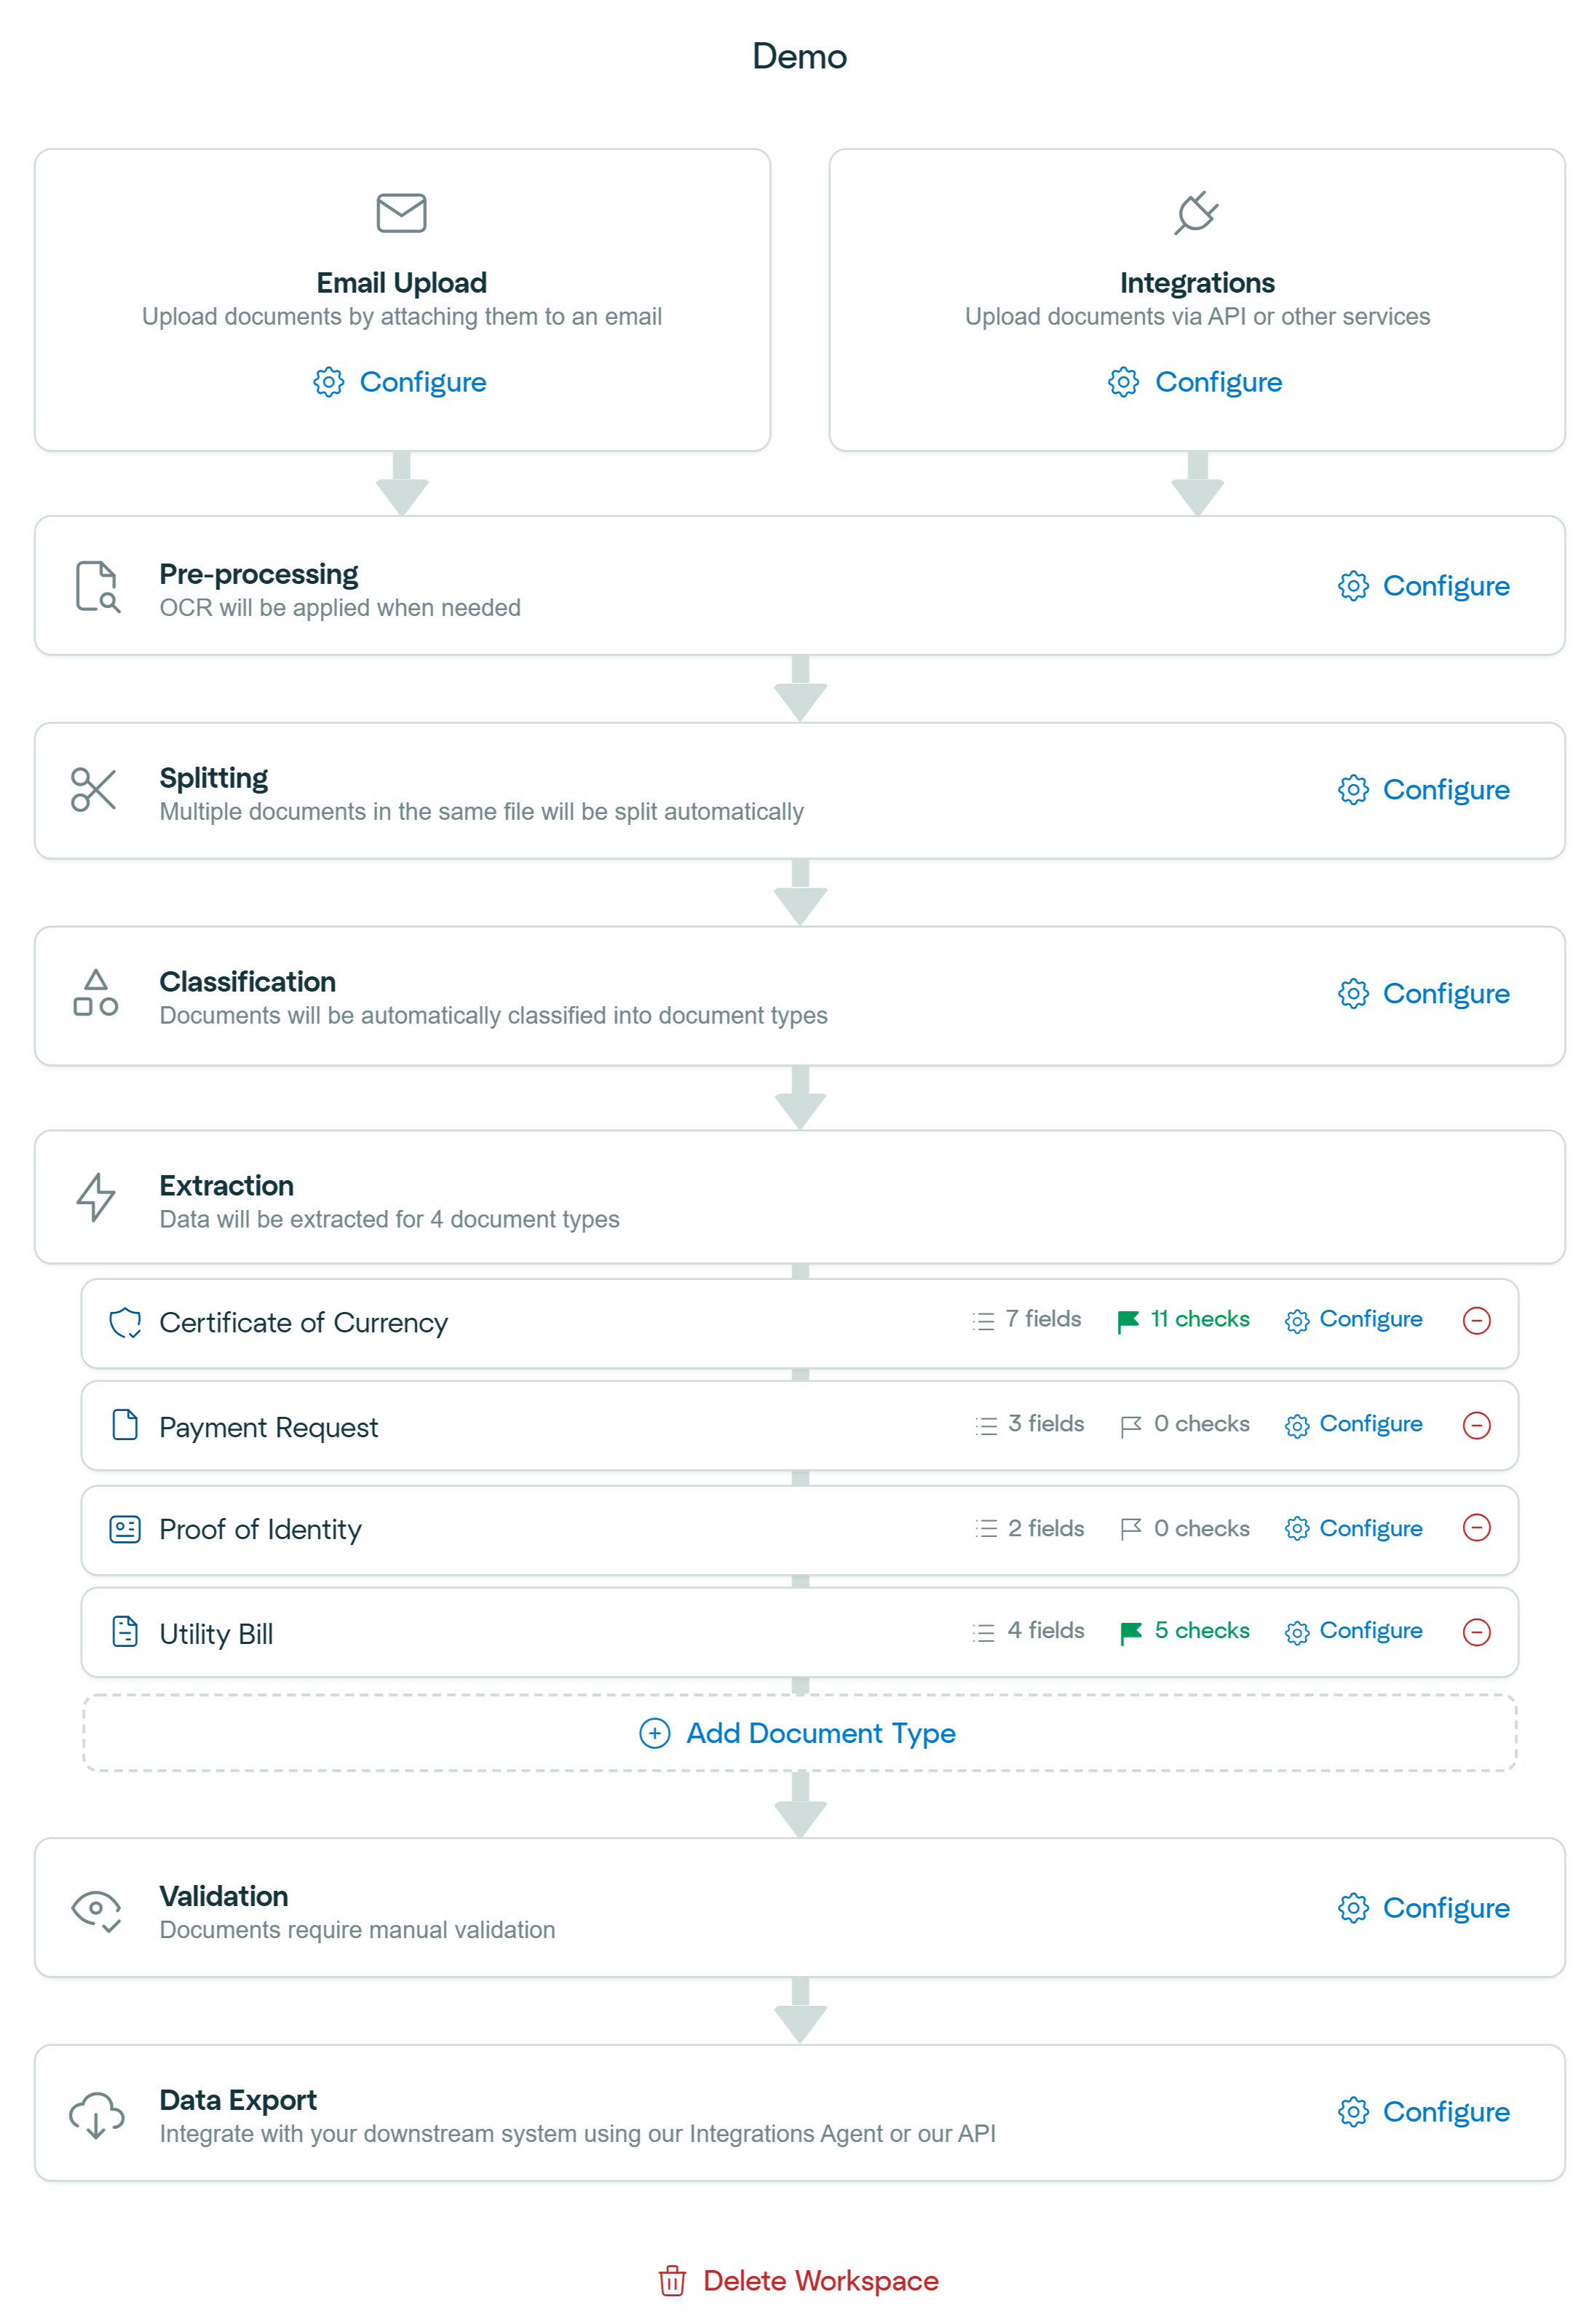
 The workflow begins by uploading documents. Documents can be added through three primary methods:
* **Email Upload:** Attach documents directly to an email inbox configured to your workspace. [(Learn more)](/configuration/email-upload)
* **Integrations:** Use APIs or other integration services to upload documents programmatically. [(Learn more)](/reference/getting-started)
* **Drag and Drop:** Manually upload documents by dragging and dropping into the workspace
The uploaded documents then undergo various pre-processing steps. During this stage, OCR is applied to extract text from image files, invalid document types are identified and rejected, duplicates are detected, and several other essential processes are performed to prepare documents for further processing.
See [Pre-Processing Overview ](/configuration/preprocessing)for more information.
Document splitting provides the option to automatically separate a single file containing multiple documents into individual documents for further processing.
See [Document Splitting ](/configuration/splitting)for more information.
Next, documents are automatically classified into the relevant document types. Classification helps route each document to the appropriate extraction model efficiently.
See [Document Classification ](/configuration/classification)for more information.
Affinda's AI models extract relevant information from your documents. Users can create multiple information extraction models tailored to different document types and configure the fields and formatting required for each type. We use a combination of Large-Language Models, our [Model Memory ](/configuration/model-memory)concept, and an advanced Fingerprinting algorithm to ensure optimal performance that improves over time.
Following extraction, documents undergo Machine Validation. Here, predefined rules and checks ensure that extracted data meets your accuracy and consistency criteria. Errors or anomalies are flagged automatically, significantly reducing manual verification workloads.
See [Overview of Machine Validation](/configuration/machine-validation) for more information.
When automated validation identifies potential issues or edge cases, documents enter a User Validation stage. In this step, human reviewers confirm or correct the extracted data using our Document Validation UI, ensuring the highest levels of accuracy before data is sent downstream.
See [User Validation](/configuration/user-validation) for more information.
Finally, structured data is exported. Affinda provides different export formats and a variety of tools to make integrating Affinda into downstream systems easy.
See [Exporting Data](/configuration/export-data) for more information
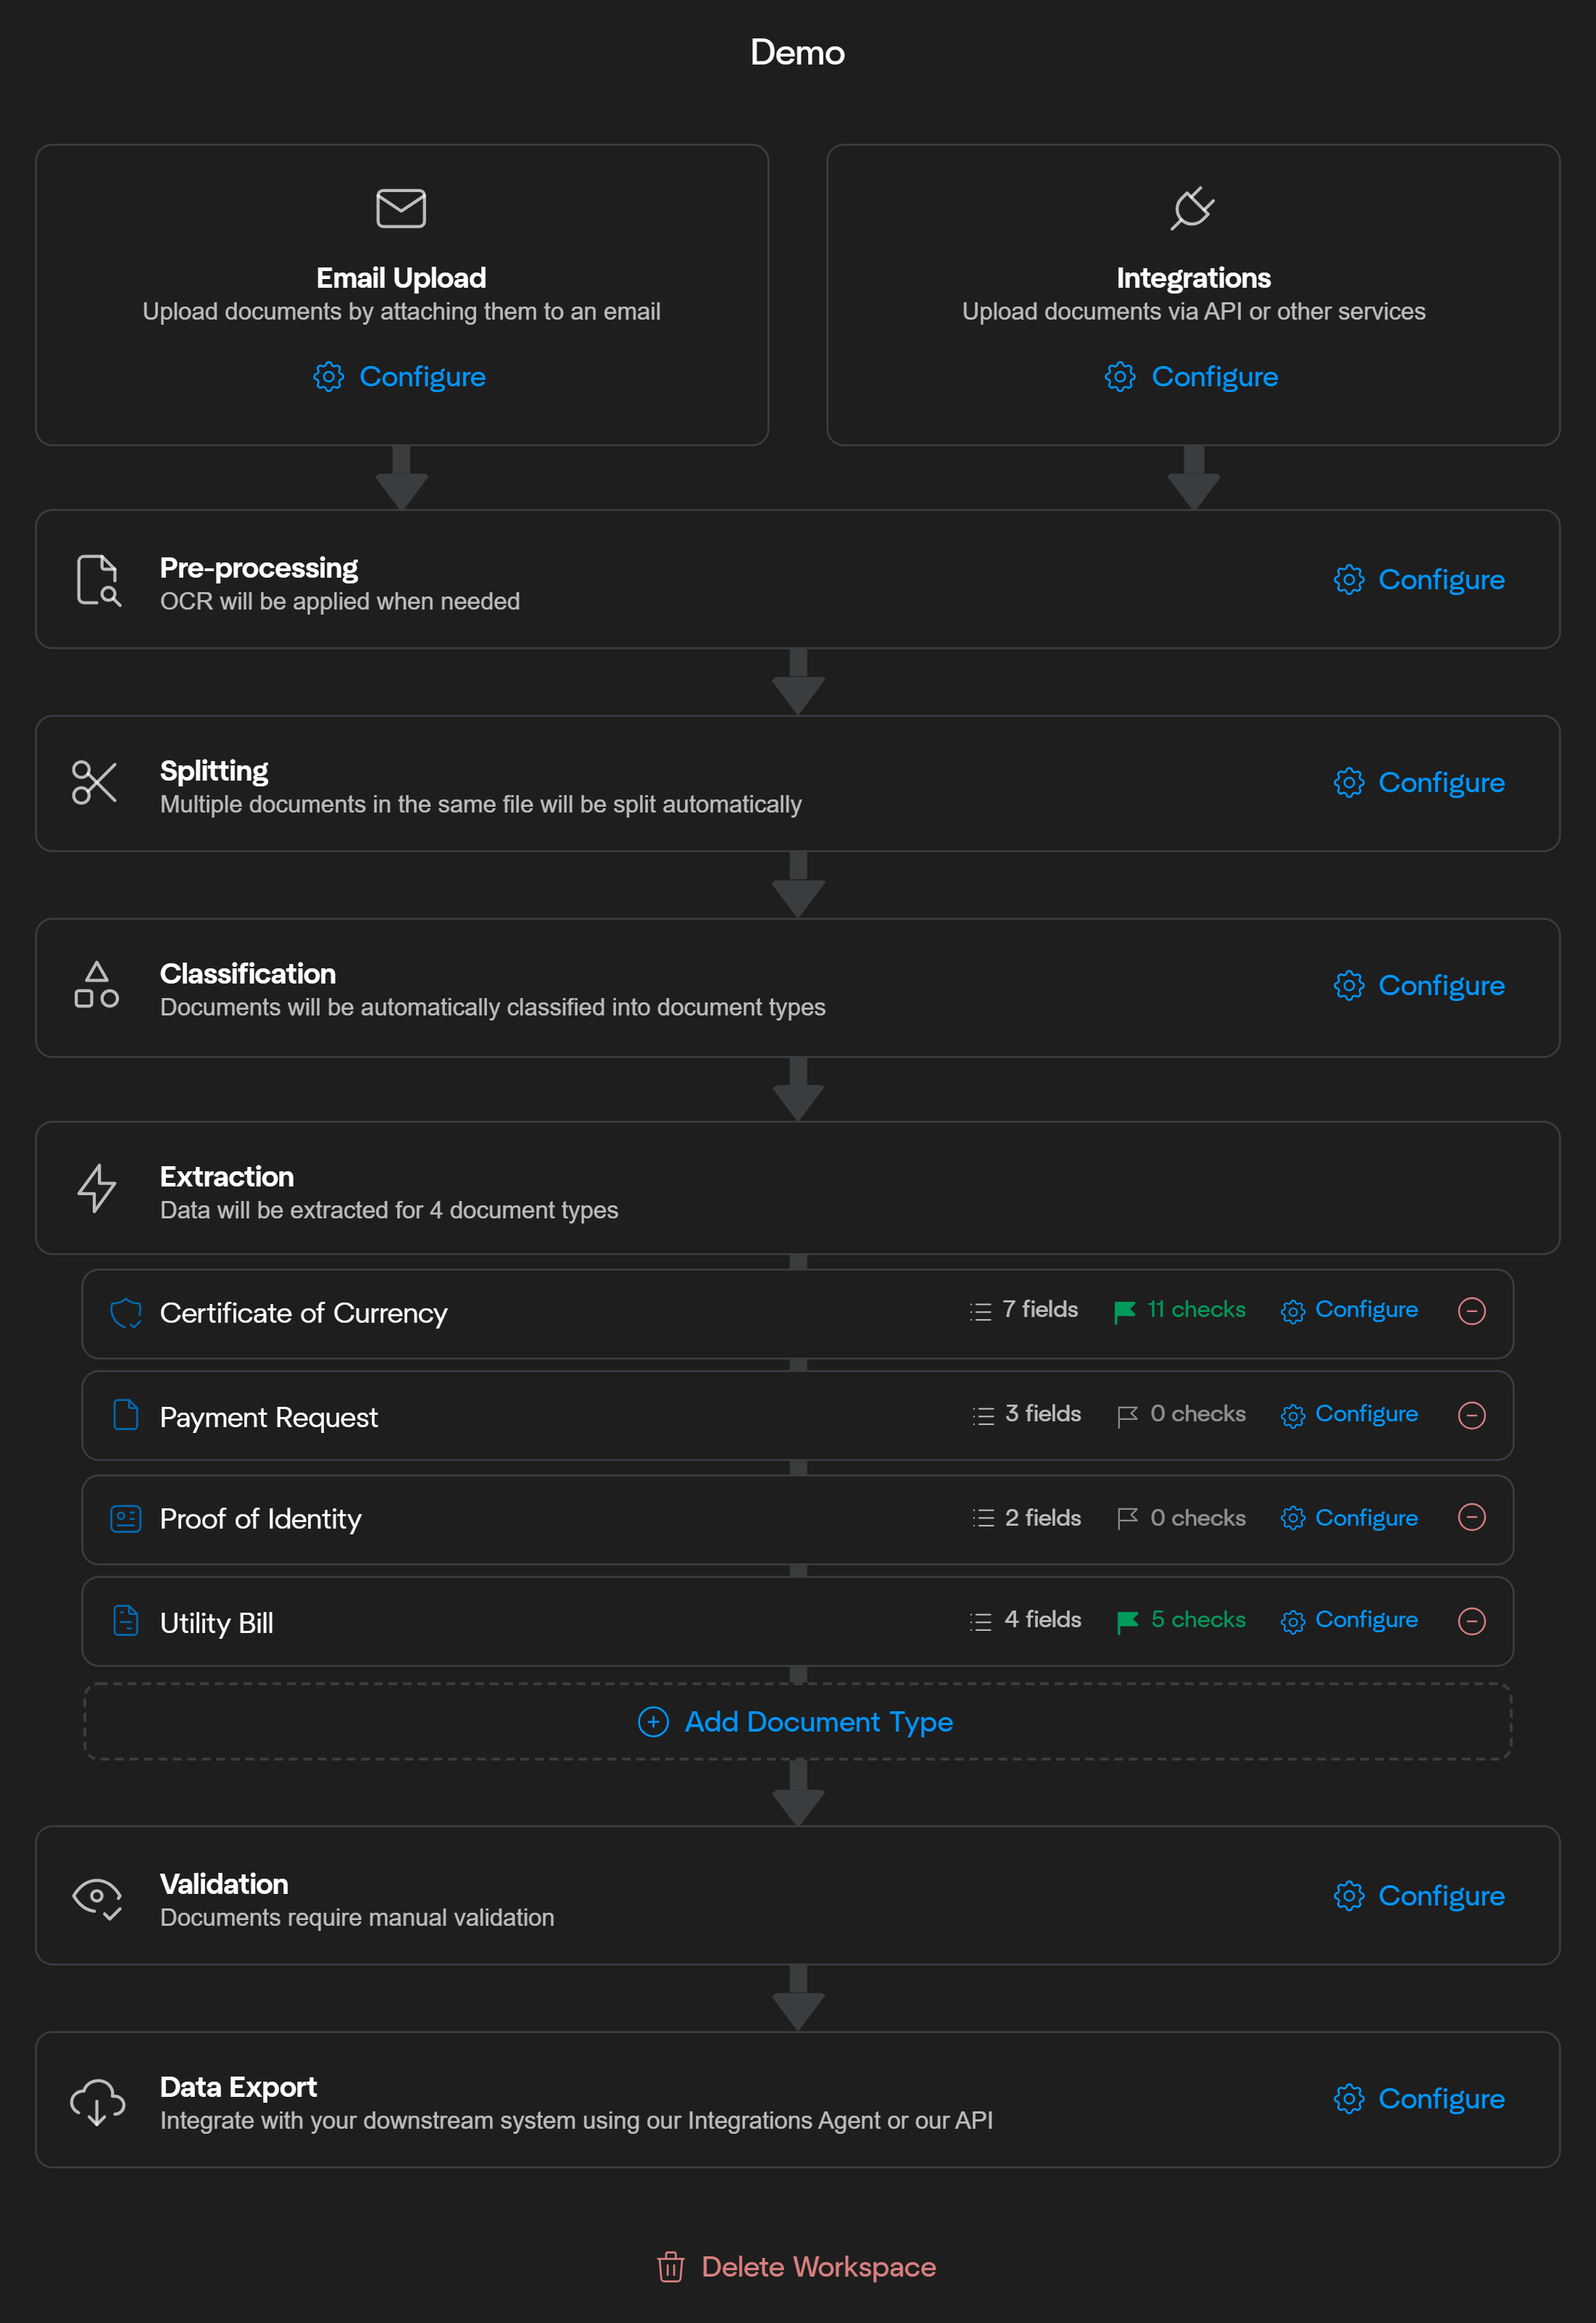
The workflow begins by uploading documents. Documents can be added through three primary methods:
* **Email Upload:** Attach documents directly to an email inbox configured to your workspace. [(Learn more)](/configuration/email-upload)
* **Integrations:** Use APIs or other integration services to upload documents programmatically. [(Learn more)](/reference/getting-started)
* **Drag and Drop:** Manually upload documents by dragging and dropping into the workspace
The uploaded documents then undergo various pre-processing steps. During this stage, OCR is applied to extract text from image files, invalid document types are identified and rejected, duplicates are detected, and several other essential processes are performed to prepare documents for further processing.
See [Pre-Processing Overview ](/configuration/preprocessing)for more information.
Document splitting provides the option to automatically separate a single file containing multiple documents into individual documents for further processing.
See [Document Splitting ](/configuration/splitting)for more information.
Next, documents are automatically classified into the relevant document types. Classification helps route each document to the appropriate extraction model efficiently.
See [Document Classification ](/configuration/classification)for more information.
Affinda's AI models extract relevant information from your documents. Users can create multiple information extraction models tailored to different document types and configure the fields and formatting required for each type. We use a combination of Large-Language Models, our [Model Memory ](/configuration/model-memory)concept, and an advanced Fingerprinting algorithm to ensure optimal performance that improves over time.
Following extraction, documents undergo Machine Validation. Here, predefined rules and checks ensure that extracted data meets your accuracy and consistency criteria. Errors or anomalies are flagged automatically, significantly reducing manual verification workloads.
See [Overview of Machine Validation](/configuration/machine-validation) for more information.
When automated validation identifies potential issues or edge cases, documents enter a User Validation stage. In this step, human reviewers confirm or correct the extracted data using our Document Validation UI, ensuring the highest levels of accuracy before data is sent downstream.
See [User Validation](/configuration/user-validation) for more information.
Finally, structured data is exported. Affinda provides different export formats and a variety of tools to make integrating Affinda into downstream systems easy.
See [Exporting Data](/configuration/export-data) for more information