Documentation Index
Fetch the complete documentation index at: https://docs.affinda.com/llms.txt
Use this file to discover all available pages before exploring further.
Purpose
This tutorial walks you through using the Affinda Integration Agent to automate data export to your downstream applications. The agent takes natural language instructions, enabling users to create integrations without writing code.Users will need to create a Pipedream account to connect to other applications for data export.
1. Create a new integration
Integrations are tied to a workspace and document type. Users can create a new integration in the Affinda app by:- Navigate to the Integration tab in your organization, and select ”+ Create Integration”, or
- Navigating to the Workflow settings in a particular workspace, opening the Data Export Settings, and clicking ”+ Add Integration”
2. Connect account using Pipedream
To create an integration, users must first connect their account to the desired downstream application using Pipedream.Find service to connect
Use the search bar or scroll to find the service you would like to connect.Click here to view a full list of services pipedream offers.

3. Initial configuration
Connect any additional accounts
If your integration requires multiple downstream services, you can add them here.
Select the trigger
A trigger is the event that starts the data export process. Users can choose from 2 triggers for data export:
- When a document is parsed, the export runs immediately after the document has been processed
- When a document is validated, the export runs only after the document is confirmed (either through manual or auto confirmation)
4. Create, test and fine-tune your integration code
Describe the integration to the agent
Explain to the agent what you want the integration to do, where the data should be pushed, and what format it should be in.The agent will ask for additional information as needed.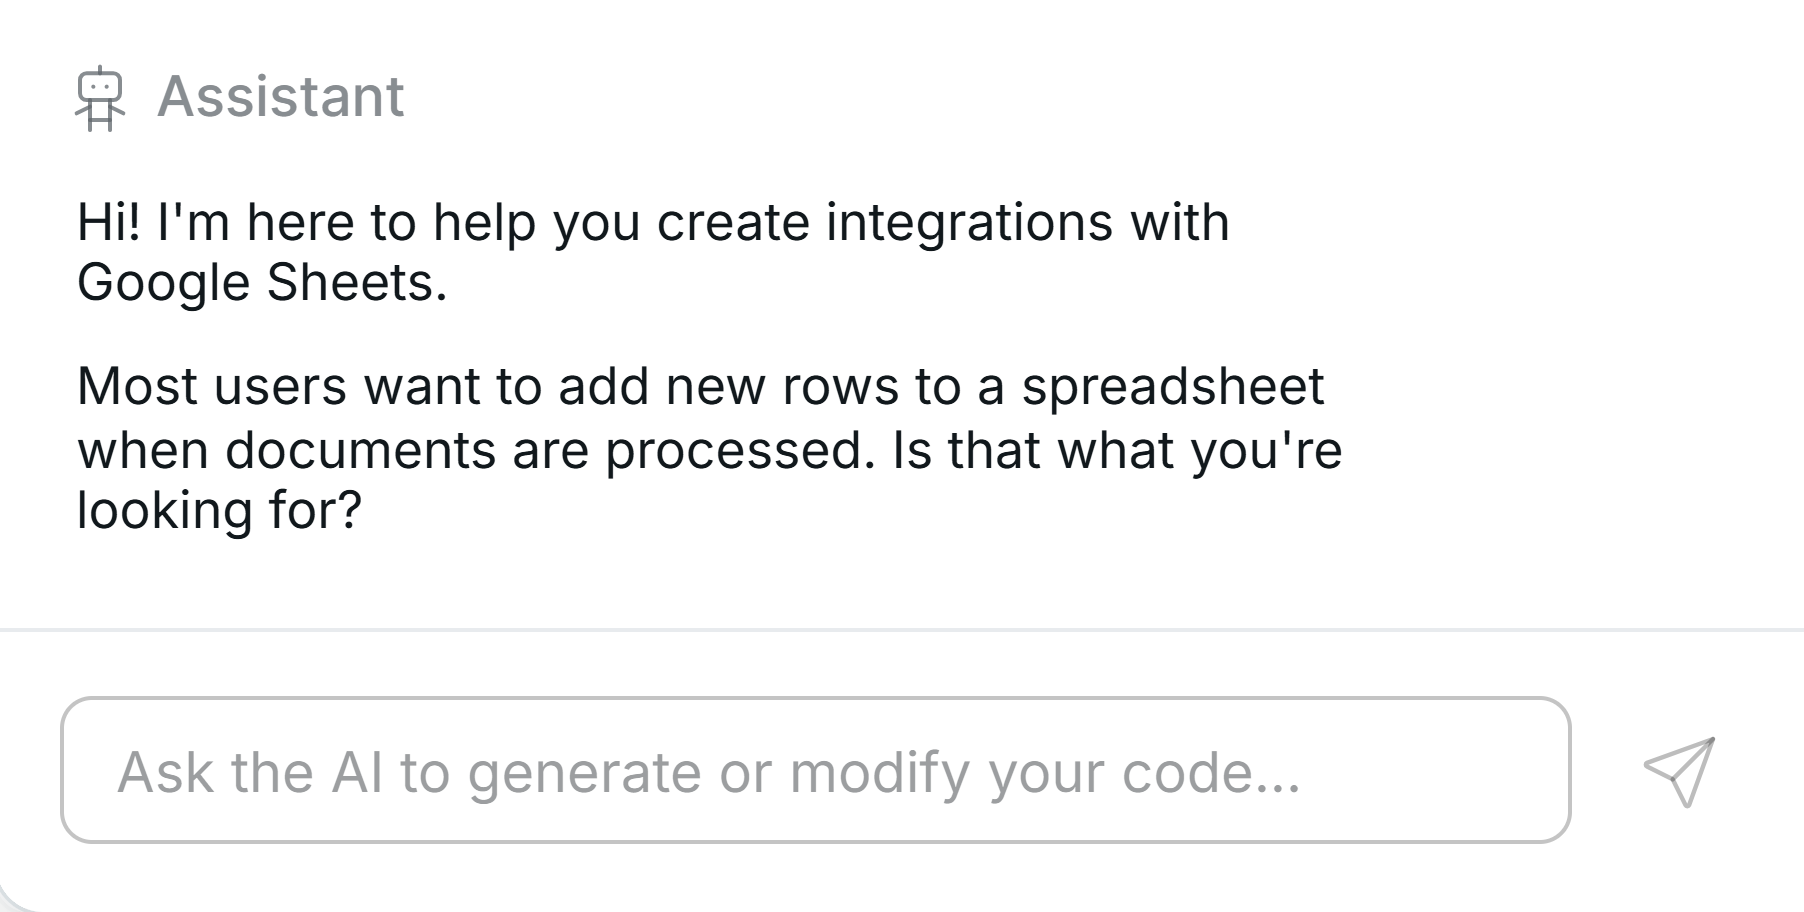
Run Test
Once the agent has created the code, test run with an example document from your workspace.Check your downstream apps to see how the data has been pushed.
Fix in chat
If your integration is getting an error, click Fix in chat to send the error message to the agent. The agent will update the code accordingly.You can also review the failed run logs in the “Runs” tab.